
How to set up an email campaign
Campaigns
An email campaign is a series of emails sent automatically, one after the other. For example, a five-day welcome sequence for parents who downloaded your free nap guide. Here is how to set one up.
1. Create the campaign
- Go to Emails, then Campaigns.
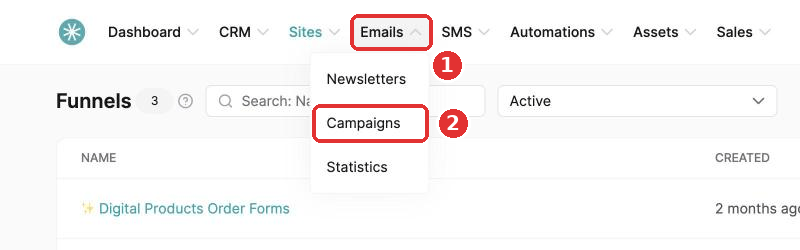
- Click Create.
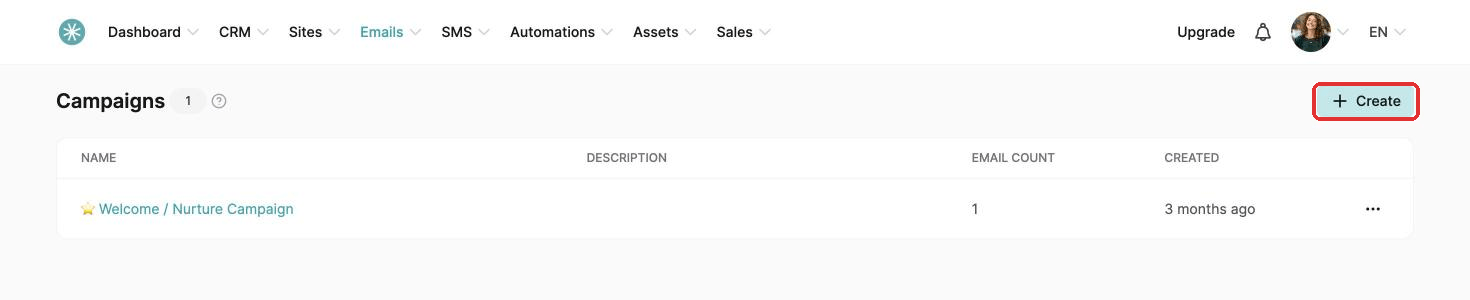
- Add a name, choose a sender email address and add a description.
- Click Create. A message confirms your campaign is ready.
2. Write your emails
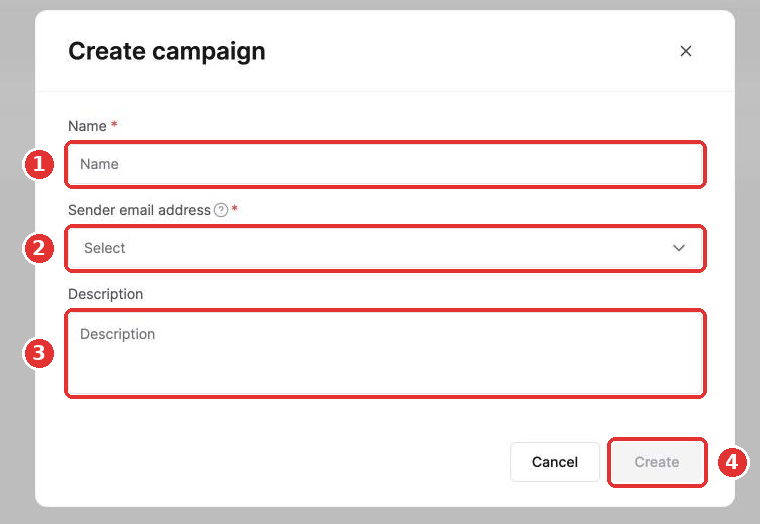
- Click your campaign's name, then Create.
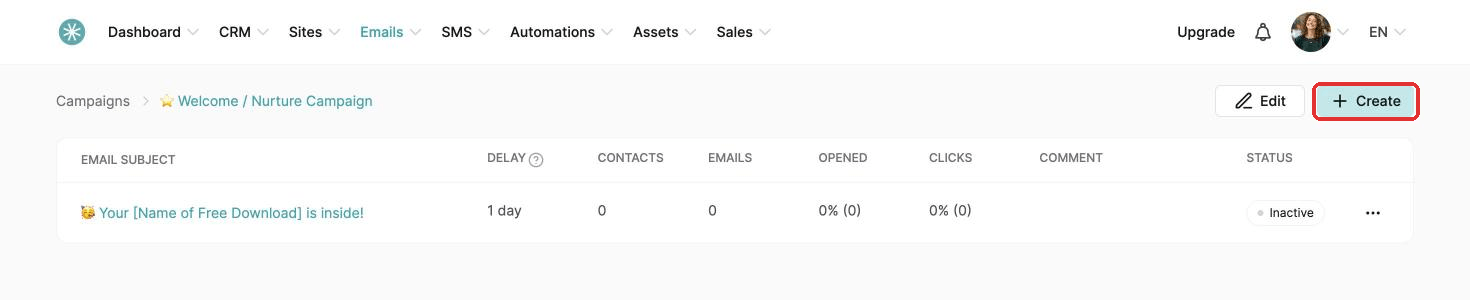
- Fill in the subject, sender name and sender email address.
- Choose the Visual editor or the Classic editor, pick a template and click Create.
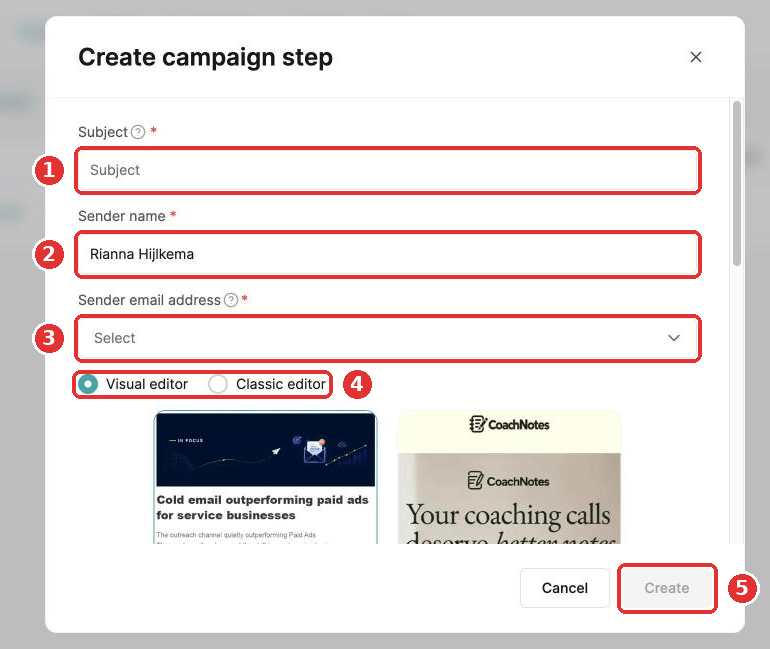
Classic editor: for simple, text-based emails. In the right panel you can add an attachment and insert substitute variables, such as the parent's first name. To make a variable a clickable link, select the text, click Create a link and paste the variable in the URL field.
Visual editor: works like the page editor, with drag and drop elements such as images, text and buttons, laid out in sections and columns.
- Click any element to change its settings.
- Open Settings to change font size, background colors, content and links, and the width of your email.
- Click the phone icon to optimize for mobile.
- To show an element on desktop only, mobile only or both, click it and tick Desktop, Mobile or both. A label on the element shows where it appears.
In both editors, you will find two special font options:
- Mailbox default: uses the parent's own email app font.
- Adaptive: uses the best system font on the parent's device, such as the Apple font on iPhone or Roboto on Android. Easy to read and quick to load.
When your email is ready, click Save, Save and test (to receive a test copy) or Exit.
3. Set the timing
Every email needs to be activated before it can send.
- In your campaign, click the three dots next to the email and choose Activate.
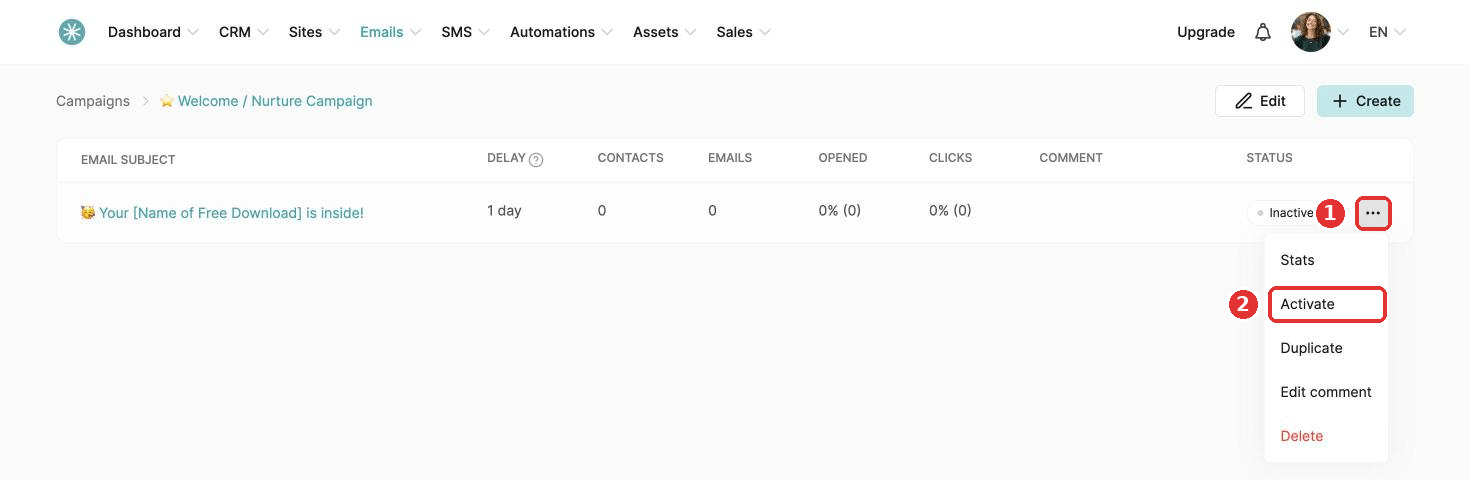
- Set the timing:
- This email will be sent after: choose the email which comes right before this one. This sets the order and the starting point of the delay.
- Delay: how long to wait after the email you chose.
- Time and days of the week: optional. Turn these on to send only at certain hours or on certain days, for example weekdays only.
How the timing works, an example
A campaign has five emails:
- Email 1: 1 hour after joining, at 7:00 PM, Sundays only.
- Email 2: 1 hour after email 1, at 7:00 AM.
- Email 3: 1 day after email 2, at 8:00 AM, Fridays only.
- Email 4: 1 day after email 3, at 8:00 PM, Thursdays only.
- Email 5: 15 hours after email 4, at 6:00 AM.
A parent joins on Saturday January 1 at 11:00 AM.
- Email 1 waits for Sunday 7:00 PM. Sent Sunday January 2, 7:00 PM.
- Email 2 is due at 8:00 PM Sunday, but must go at 7:00 AM. Sent Monday January 3, 7:00 AM.
- Email 3 waits for the next Friday at 8:00 AM. Sent Friday January 7, 8:00 AM.
- Email 4 waits for the next Thursday at 8:00 PM. Sent Thursday January 13, 8:00 PM.
- Email 5 is due Friday at 11:00 AM, but must go at 6:00 AM. Sent Saturday January 15, 6:00 AM.
An email only sends when every condition is met: the delay, the time and the day. The delay always counts from the email right before it. Keep your conditions simple to avoid surprises.
For more situations, see Setting up email campaigns: common scenarios and key considerations.