
How to create a blog menu
Navigation
A clear menu helps a parent move from your blog post to your sleep packages in one click. Here is how to build it.
- Go to the Sites tab, click Blogs, then click your blog's title.
- Click Blog layout.
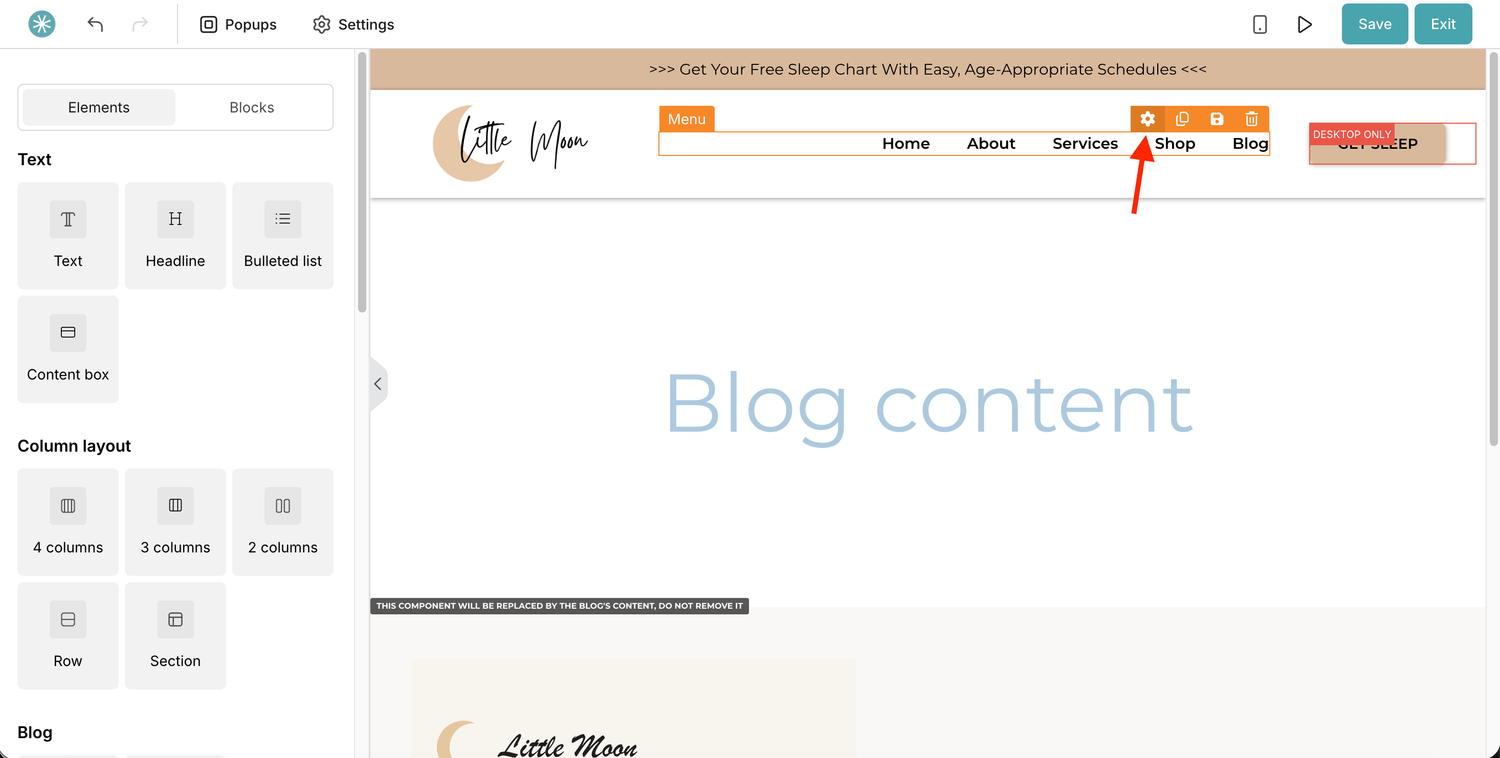
- In the editor, click the Menu element. All your menu items appear in the settings panel.
Menu item options
- Title: the name parents see, such as Contact or Sleep packages.
- Type of link: choose Blog link or Custom URL.
- Menu item link: pick a blog page from the list, or type the full web address for a custom URL.
- Open in a new window: tick this to open the link in a new tab.
- Delete: removes the item from the menu.
- Has submenu: turn a dropdown on or off for this item.
- Open: shows the submenu items in the editor so you can preview and edit them.
- Add submenu item: adds an item to the dropdown. Submenu items have the same options as main items.
- Add menu item: adds a new main item.
- Move menu item: use the up and down arrows to change the order.
The menu you set in your blog layout shows on every page and post of your blog.
Did this answer your question?